While Andrea’s been working on editing video and searching for materials, I’ve been slowly building the cabinet that will house the project–and too busy to upload all my pictures. Here’s an overview of the process.
Large Sheets of Plywood
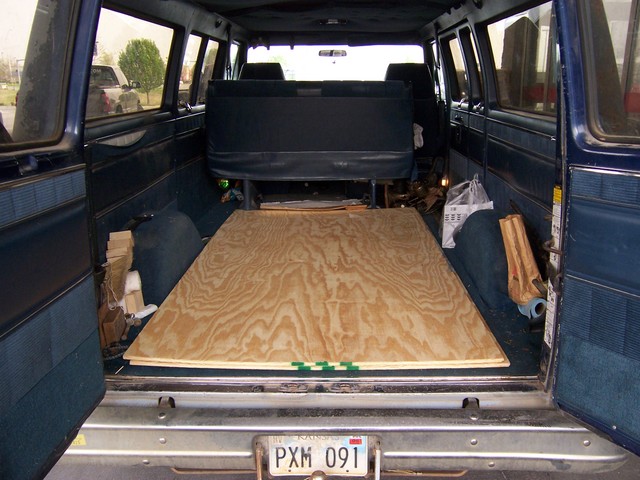
It all started a little over two weeks ago, at Lowe’s with two sheets of 15/32″ plywood in the back of the Possum Van. The cabinet is about the size of an arcade game, and they’re normally made from ~3/4″ plywood; but this won’t have to stand up to the same kind of abuse they take, so I figured ~1/2″ would be fine. It also reduces the weight dramatically, making it less difficult to lug around.
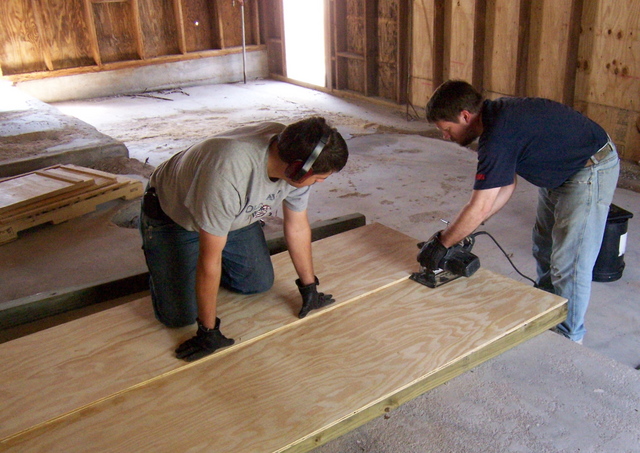
A friend and his son helped with some of the initial cuts. Because my tablesaw isn’t very accessible, and I don’t have an extension table anyway, we were cutting plywood on the floor (on 4×4 supports) using my circular saw, and the factory edge of another plywood sheet as a guide. I picked up a new Freud blade for under $15, and it’s incredible–very sharp, very easy to push, very clean cuts. We were all amazed. No more $7 Piranha blades for me!
Starting the Base
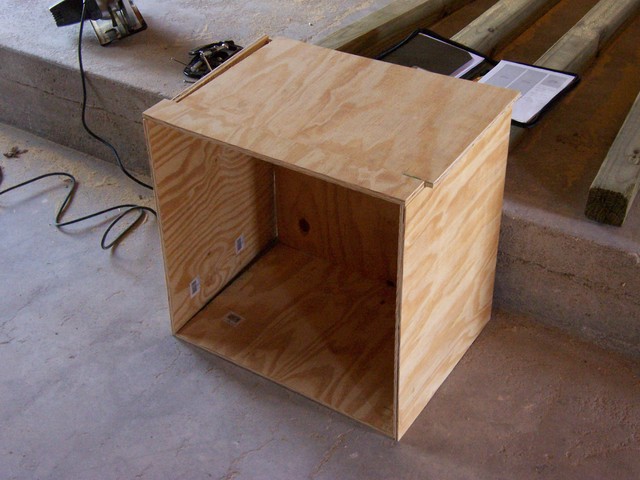
For load-bearing elements (the top and bottom of the base cabinet, the bottom of the upper cabinet, and the inner back of the upper cabinet), I used 3/4″ plywood that I had on hand. After cutting all the pieces for the base, I leaned them together to make sure they were sized correctly to fit the way I intended.
Not shown here is assembly of the cabinet pieces. I used my biscuit joiner for the whole thing. The biscuit joiner is basically an angle grinder with a very small (3″) circular saw blade and a fancy fence. You hold it up against the edge of a board, squeeze the trigger, and push it against the wood; it cuts a little slot in the wood. You repeat that on the opposing edge that you want to join; then take “biscuits,” little pieces of compressed beechwood that look like flattened footballs, jam them into the slots with glue, and have a pretty solid joint with (theoretically) perfect alignment. Since I was working alone most of the time, it would have been difficult to shoot a picture of the biscuiting process.
Building the Picture Frames
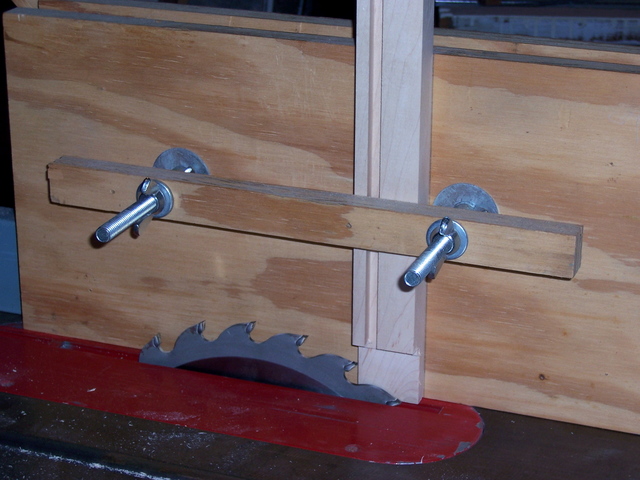
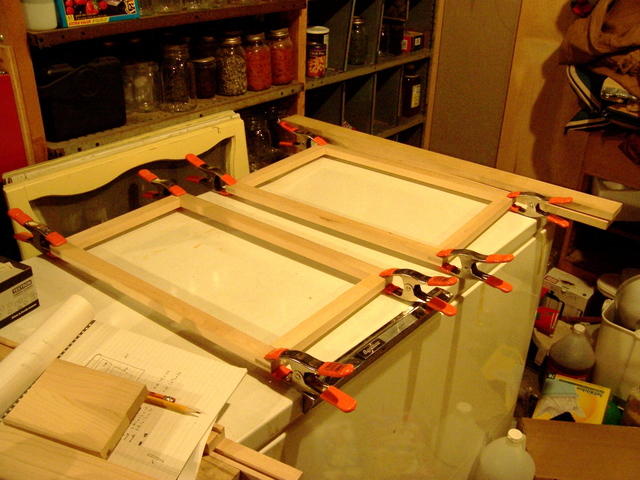
The front of the cabinet will have three swinging “picture frames,” which I made from maple that I had lying around. I used through mortise and tenon joints on the corners for strength, and cut them on a friend’s tablesaw using his tenoning jig.
The joints fit pretty snugly, so they didn’t take much clamping during glue-up. (Love the random white-balance shifts my camera makes on indoor shots!)
Back to the Shop for the Rest of the Cabinet
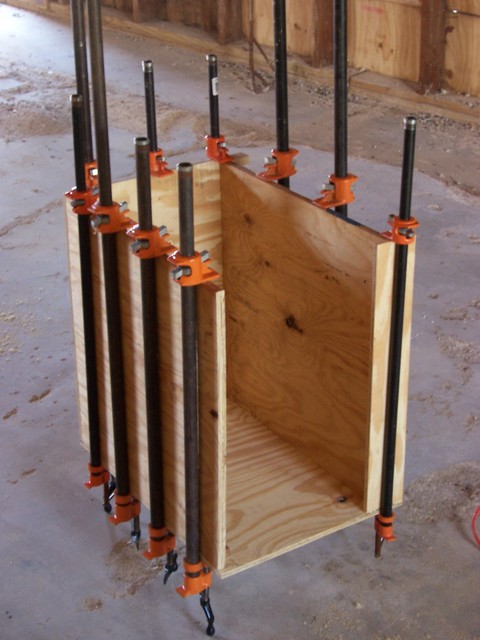
Because the cabinet’s side panels are continuous from top to bottom (they’re on the outside, not interrupted by any horizontal elements), they had to be glued on last, so I had all the other parts of the base assembled before adding the sides. I wasn’t sure yet how smoothly the glue-up was going to go, so I did them one at a time. In order to seat the biscuits as well as possible, I ended up locating a clamp over each one. You can never have too many clamps.
After completing the base, I glued up the outer frame of the upper cabinet. (It’s sitting on the assembled base.) Due to the design of the interior, I knew I was going to have to add the coffin panels last–and this meant that the outer frame would be unsupported whilst gluing it up. I clamped on a couple of pieces of scrap plywood to hold it square during assembly until dry. Once again, one pipe clamp over each biscuit.
Because the upper cabinet is so large, I was really concerned about the integrity of its corners when I turned the outer frame upright–but I had nothing to worry about; it turned out to be surprisingly sturdy. I test-fit the panels for the coffin liner, then cut the liner fronts from more maple stock, using my tapering jig on a tablesaw. I left them a bit long so I could fit them exactly once I got them back to the cabinet–then regretted having done so, when I didn’t have a good way to cut them to size back at the shop.
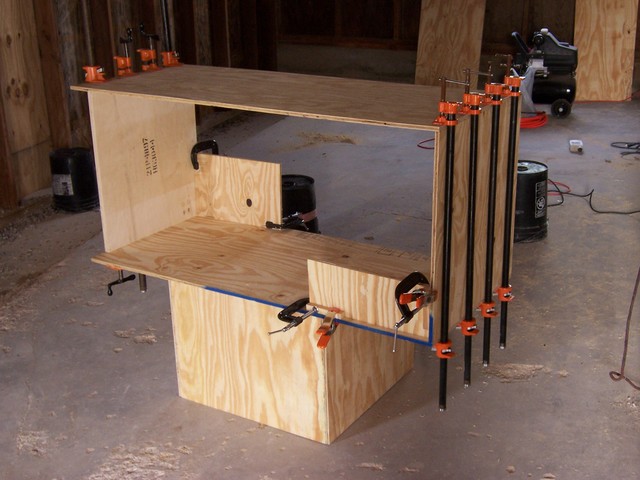
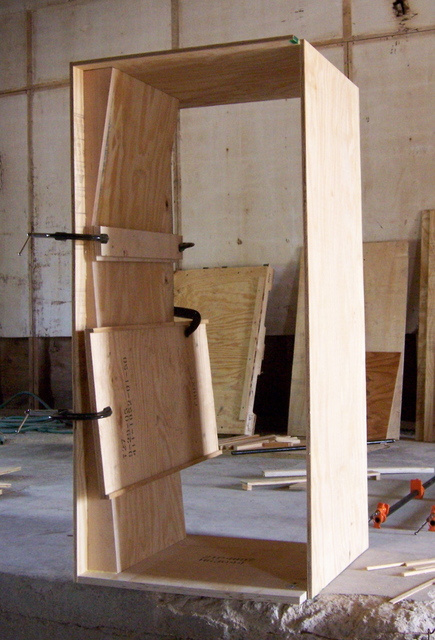
I biscuited the fronts onto the liners and let them dry, then fitted the entire assembly into the outer shell and biscuited the outer liner ends to the shell ends, the fronts to the shell edges, and the inner liner ends into the shell sides. I needed gravity’s help during assembly, so I built one liner at a time with the cabinet laying on edge, then turned it upright to clamp and dry. I used scrap stock to hold the inner liner ends tightly against the cabinet shell across their entire width.
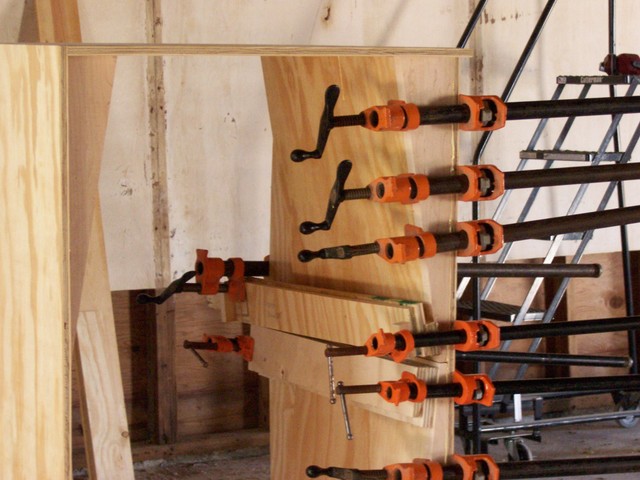
The biscuit joints on the right liner ended up a little more snug than those on the left, so I used a clamp per biscuit to pull them together. I would have used C-clamps for the entire face-to-shell joint, but I only have four 4″ clamps, so they’re all on the bottom section. The weight of all the pipe clamps sticking out the right side made the cabinet almost a little tipsy.
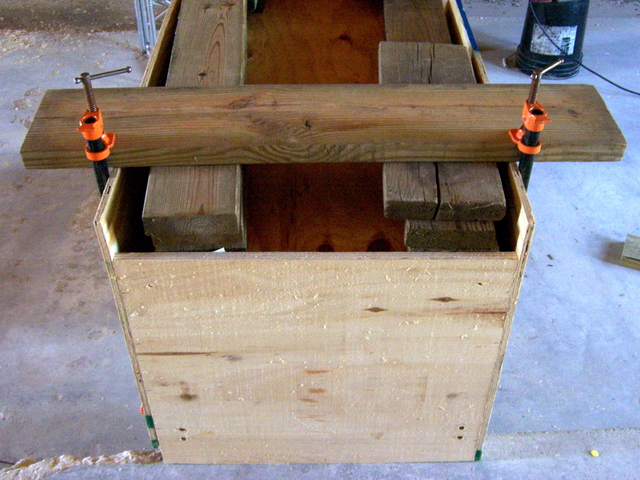
It’s not easy to see from this shot, but the coffin back is recessed a few inches into the cabinet, leaving a “service area” between the false back and the actual back door. That made it tricky to clamp the coffin back onto the coffin edges. I laid the whole cabinet upside down across a concrete ledge and a bucket (suspended to leave room on the bottom to attach clamps), stacked scrap 2x6es above the biscuits, laid a longer 2×6 across each end, and clamped that down tightly to the cabinet.
I’m particular enough that I know I would have clamped it tightly like that anyway. However, in this case it was actually necessary–the coffin back was bowed about an inch and a half from end to end, so the top popped completely clear of its biscuits while clamping the bottom. Some of the biscuit joints were pretty loose, so I was really nervous it was going to spring open when I removed the clamps–but it held very nicely (thank goodness). If we do have any problems with it, I can always put some nails in from the back.
Finishing Touches
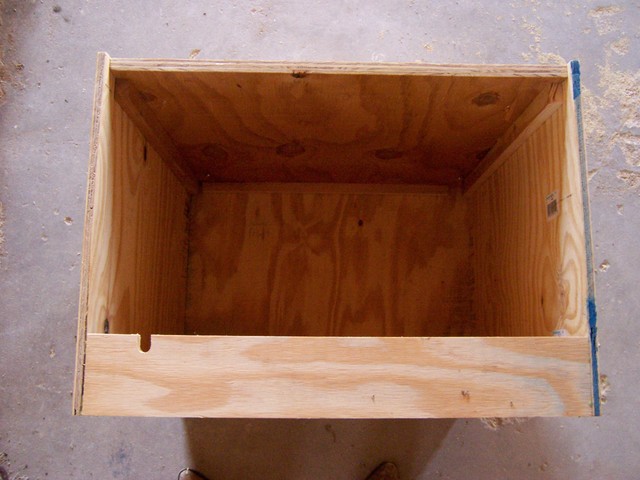
I needed a notch in the back of the base, for the power cord to come out when the back door is closed:
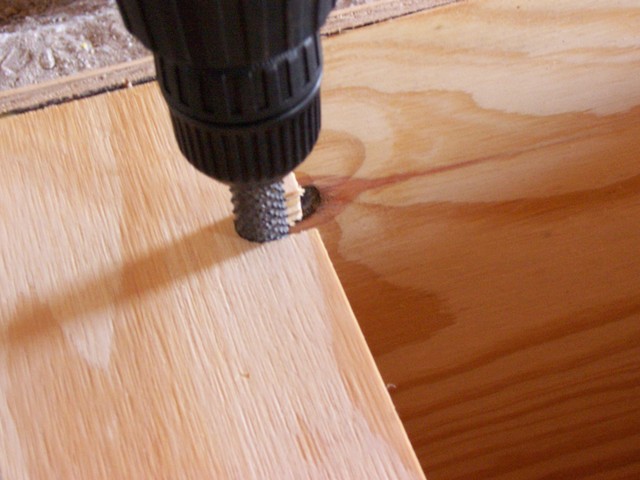
While the coffin back was drying (I gave it a long time, to be safe), I borrowed a rotary rasp and ground out the notch for the cord.
Putty
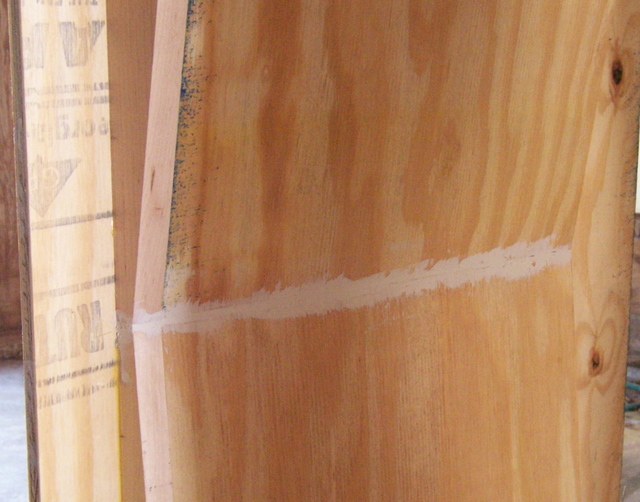
My cuts and joints weren’t perfect, and I had some cracks to fill. (They would have been better had I been able to use a tablesaw for the large pieces, but still not perfect.) I gooped them up pretty nicely with some painter’s putty and a putty knife, then did some final sanding to smooth up the plywood before priming.
Primer
Because plywood just drinks up paint, I put two coats of oil-based primer on all of the visible (exterior) surfaces, and a single coat on all of the interior (back-side) surfaces to help seal against humidity changes. The primer said it dries to topcoat in only eight hours, and I was very impressed with how dry it was by this morning. I haven’t uploaded those pictures yet–they’ll come in the next post.
