I’ve assembled a couple of Makeblock mBot robots I picked up a few years back and intend to start programming soon. They come with a 4xAA battery holder, but I’m not a fan of single-use batteries and Makeblock’s LiPo is only $10 on Amazon [no affiliation and not an affiliate link, just a happy customer], so I ordered a couple.
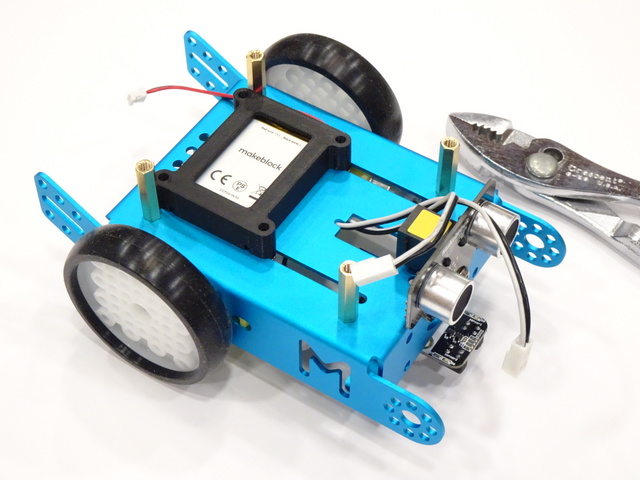
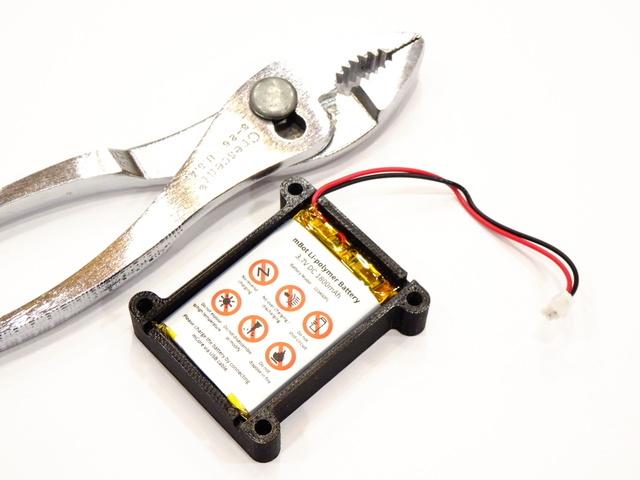
The LiPo batteries came in clear plastic cases with tabs that looked like they should latch into the slots on the robot chassis, but the spacing was off. The robot kit came with hook-and-loop tape to fasten down the battery holder, but yuck. So I designed this holder, which is good enough to use after a single pass of dimensional refinement.
Many thanks to my student employee Kip for printing the battery holder on his Prusa I3 MK2s. The quality is outstanding.
I’ll upload the design to Thingiverse after a bit of code cleanup.
The battery holder is a fairly simple box with a notch at each corner for the wires to exit and a mounting boss in each corner to screw it to the chassis. I designed 3.8-mm holes in PLA to thread in M4 screws without tapping; and at least for a single installation, it’s a nice snug fit without feeling like it’s going to crack the plastic.
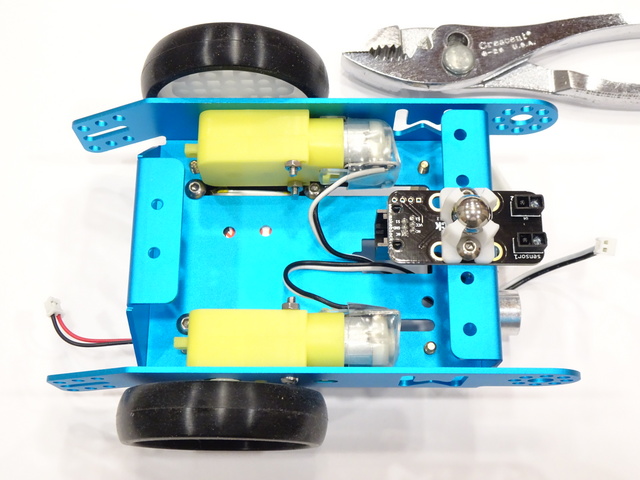
The motors were in the way of tightening the screws from below, so I had to almost entirely disassemble the mBot to install the battery holder. But the mBot purportedly has LiPo charge management on its motherboard, so this should never have to be removed again until the LiPo is used up and needs to be replaced.
With all that unused space underneath, one (I) might think that the battery should be mounted below the chassis, and one (I) might be inclined to agree. But I didn’t spot a good way to mount it securely without either modifying the chassis (nope, at least not yet) or adding long rails to the holder to get to existing mounting holes. So up on top it is.


Those pliers look oddly familiar