The CupCake plastic-extruding 3D printer can have its printing instructions sent to it live from the controlling computer or stored onboard on a mini-SD card and printed from there. We’ve all seen suggestions to print from the card for improved print quality, but it didn’t make sense to me that USB communications were slow enough (bandwidth) or unpredictable enough (jitter) to make a difference. How wrong, how wrong I was.
I’m intending to print several different versions of the Wade filament drive to test and upgrade my Plastruder MK3, starting with Wade’s original. In the model of the idler block, each corner has a mounting bolt hole all the way through; but the CupCake slows down so much while circling the holes (without the filament drive slowing down at all, thereby depositing extra plastic) that halfway through the holes were closed over and by the end they were blobbed up above the deposition plane. Besides making an unusable object, this snags the extruder nozzle every time the mound comes by.
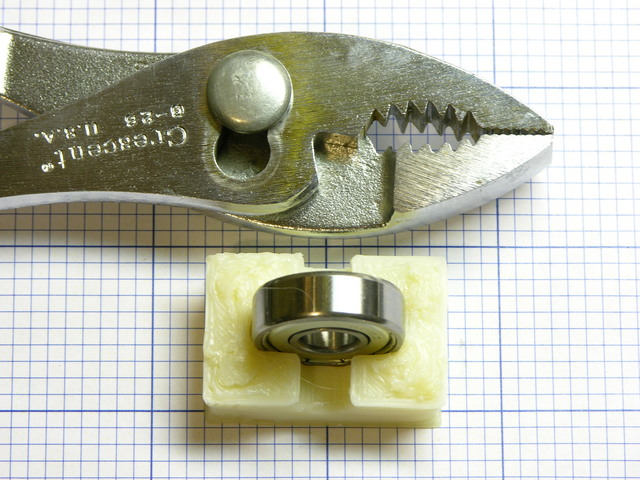
The bearing is supposed to spin freely in the slot and I couldn’t press it all the way in.
I’ve had tremendous luck with Skeinforge’s Unpause module before, which is supposed to mitigate the time the CupCake’s relatively slow Arduino CPU needs to calculate the toolpath for every segment of a curve, but here it didn’t help a bit. Circling the holes seemed just as slow and the result was almost identical.
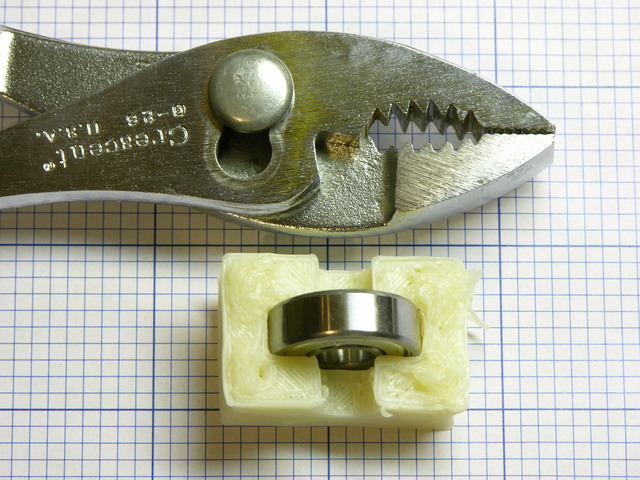
I was able to press the bearing all the way in, but it was a tight fit.
The Stretch module widens curves and corners to take into account the inner edge of the filament following a smaller-radius path than the center. It looked promising on the first couple of layers, but soon I had so much blobbing that the Y-axis stepper lost steps.
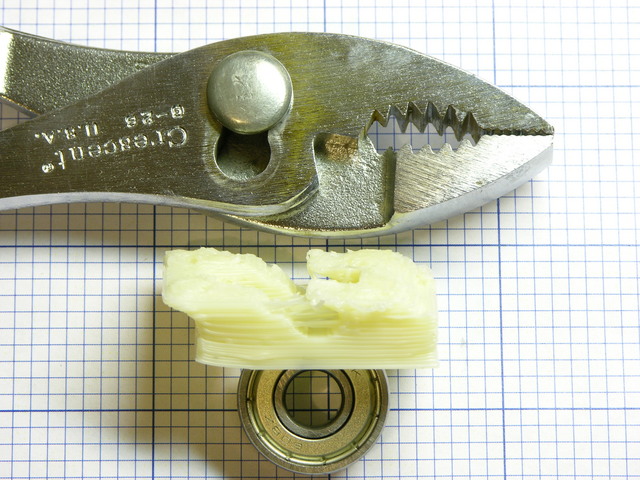
The bearing fit easily into the intact underside of the slot.
Scrounged up an SD card, copied the code to it, and printed from the card. No Unpause, no Stretch, no tricks. More than an order of magnitude better than any holes I’ve printed before.
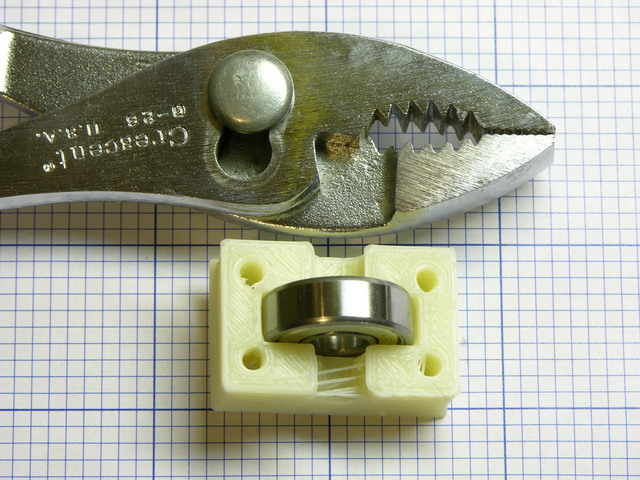
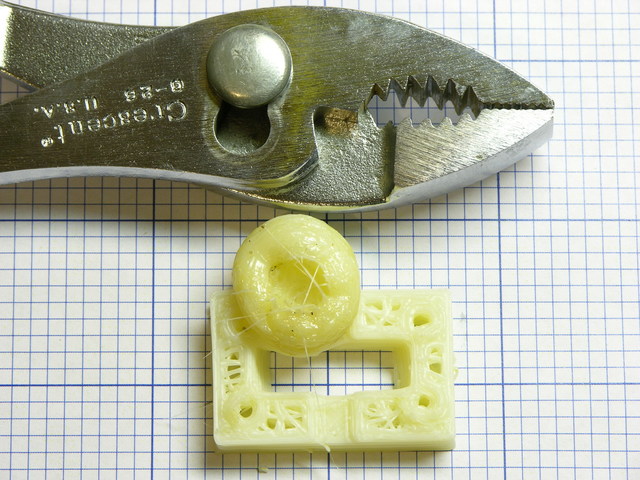
The bearing fits perfectly except where I impatiently squeezed the block too hard with pliers trying to pop it loose from the build platform too soon.
“Printing” the code from the MacBook to the card took 15 minutes. Printing from the card took 18 minutes. The similarity of those two times demonstrates that USB-serial transmission speed to the CupCake (and reception thereat) is much slower than I realized. It’s easy to see how the transmission becomes the bottleneck when sending many small steps around tight circles.
Given the widespread knowledge in the larger RepRap community about the advantages of designing (particularly) small holes as low-edge-count polygons instead of circles, I am genuinely surprised that Skeinforge doesn’t have a module to reduce tight curves, with specifications for things like maximum number of segments, minimum degrees of arc per segment, and minimum segment length.
Yes, I’ve had a couple of significant breakthroughs in my CupCake usability this weekend. I’ll cover them when I have a few moments.
Huge Blob
And a word to the wise: If you’re still printing directly from your computer, don’t walk away when your laptop battery is about to die.
Hi,
Very interesting ! I’m using a CNC mill with EMC on Linux. It use a parallel port and a realtime linux kernel for more precision. I never seen a USB link to drive a good CNC bot
Pierre
Check out the brutstruder if your looking for something a bit more compact that will work with your hardware
http://www.thingiverse.com/thing:4036
it will work for replacing your current mk3 although I would recommend getting the mk5 drive gear.
James, I had seen that when it was published but forgot about it when doing my recent search; thanks for the link!
It’s great to see a replacement filament drive that would work on the CupCake, but I really have my heart set on a stepper design. You don’t have one of those squirreled away in your memory or bookmarks too, do you?
If you have an SD card reader, you can build the file to the card on the computer side and it’ll take around 30 seconds. Once the build is put on the card, eject it and then put it into the makerbot and then print. It’ll save you a heck of a lot of time.
I had completely forgotten about this comment till I just posted to another entry.
Actually all is not lost for going to a stepper extruder check out http://www.makergear.com/products/motors (At the time of writing the motors are currently sold out)
All Makergear is using for their stepper extruder’s is slightly modified brutstruder with a custom built gear housing.
Try this link when looking for upgrades http://www.thingiverse.com/tag:makerbot_upgrade_part
MakerBot’s aren’t native USB, they just use a serial bridge. They are, at most, 115kbps, not the 1+ meg you’d expect from USB. In reality, they probably run slower.
It is, for all intents and purposes, a modem.
I’ve been using the SD card with my Thing-O-Matic, simply because it means I don’t have to keep my laptop within a few feet of my machine all the time. Not having to worry about print quality due to using my laptop is just another plus.